Procedure
1.Click on the Edit button from the Entities list page.

2.The Edit Entity page is displayed.
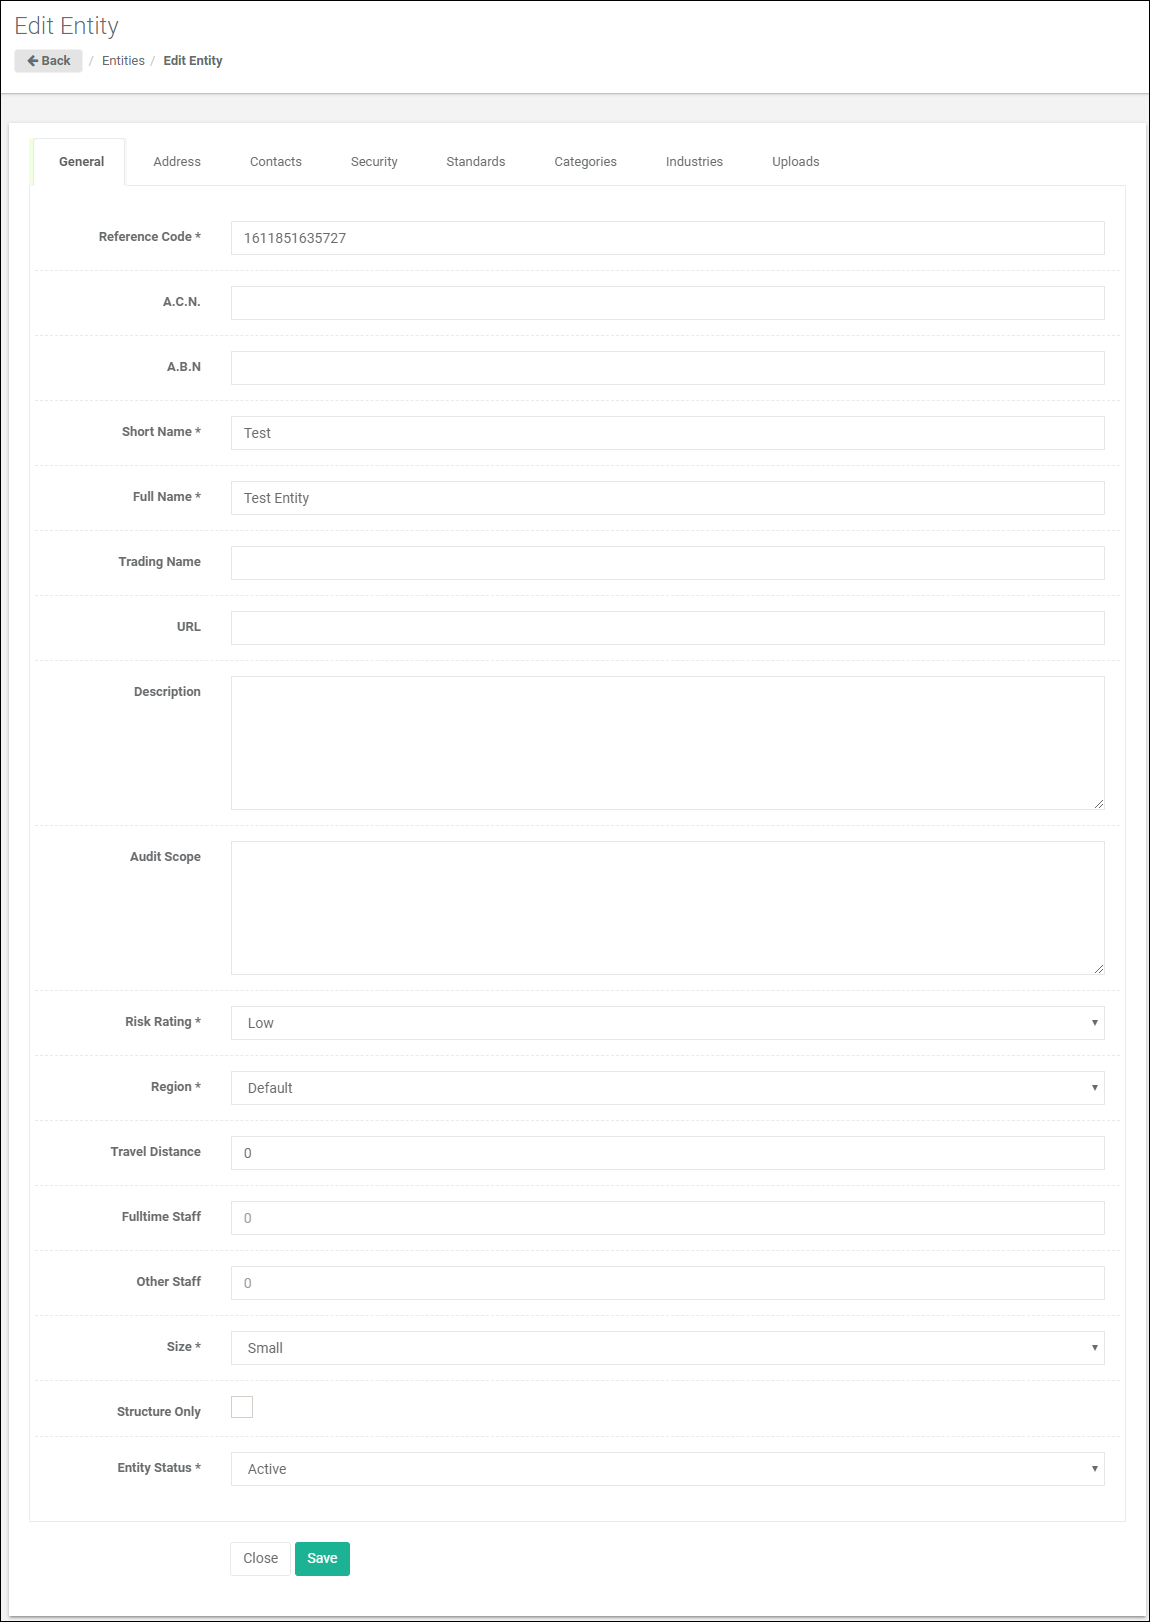
3.Select the Uploads tab.
4.In the Uploads tab, click the ![]() button to the top right of the list. The Add Attachment screen is displayed.
button to the top right of the list. The Add Attachment screen is displayed.
Notes
You can not add attachments while the Entity is in add mode, if you need to add an attachment, you must Save the Entity to enable this feature.
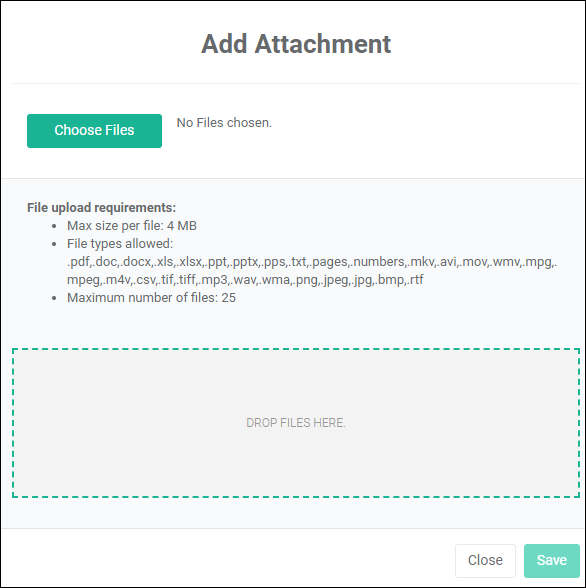
a.Click on the Choose Files button or drag and drop the file in the drop area to upload an attachment.
b.Once you have finished adding files, click on the Save button to add the attachments to the Entity.
5.In the Attachments tab, to rename the file names added as attachments, click on the Edit button.
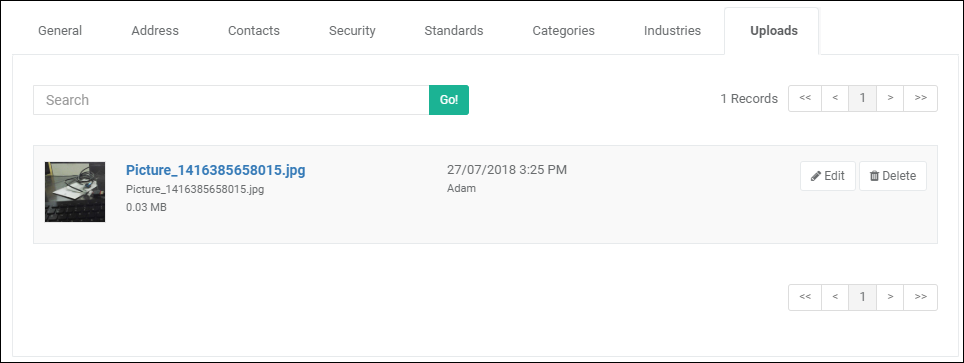
6.Set the file name as required, you can also set whether an attachment is private or not. Click on the Save button once done with editing.
7.Select the Attach in notification option if you wish the attachment to be included in an email notification. Click on the Save button once done with editing.
* For more information regards Notification, see Section Notifications in Administrator Manual.
