Procedure
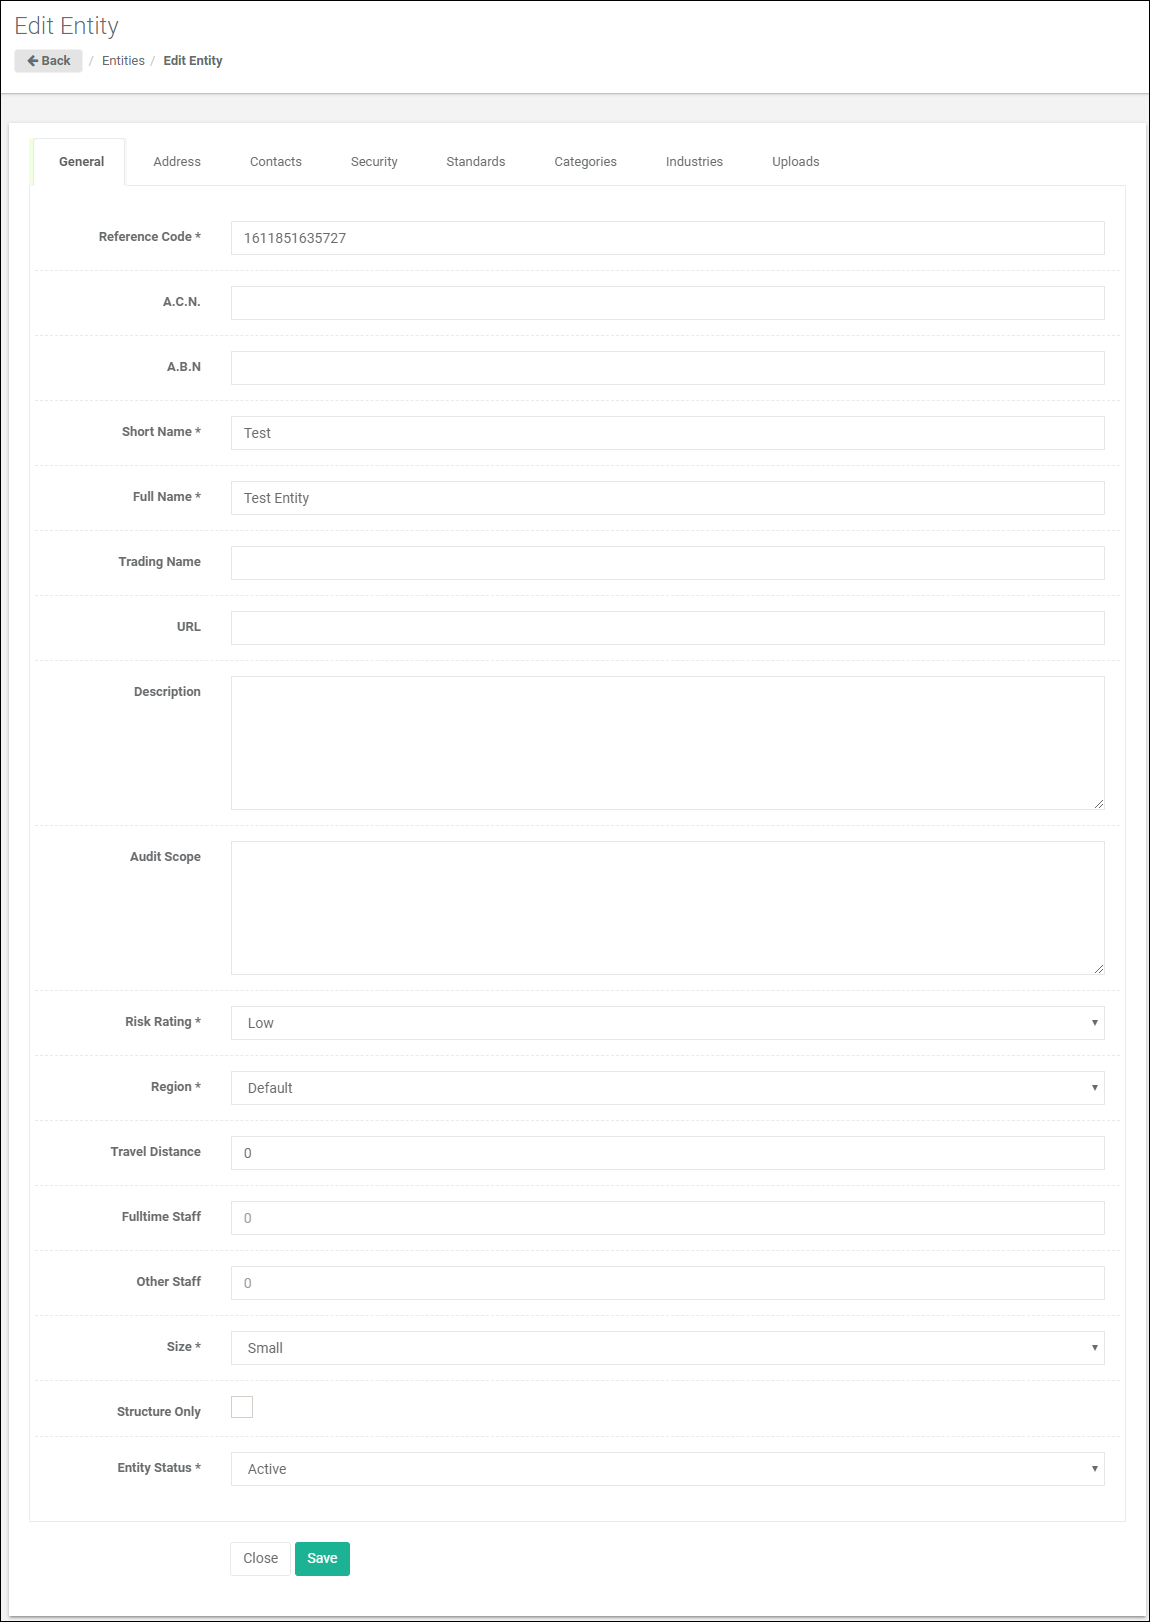
1.Click on the Edit button from the Entities list page.

2.The Edit Entity page is displayed.
3.Select the Contacts tab.
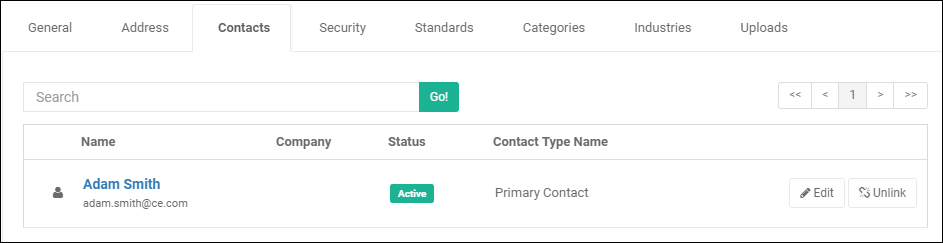
4.In the Contacts tab, click the Add button on the Contacts toolbar to add a new contact.
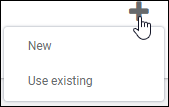
5.To select an Existing Contact (See Configuration->Contacts):
a.Click on the Use existing option.
b.Select a Contact record from the list.
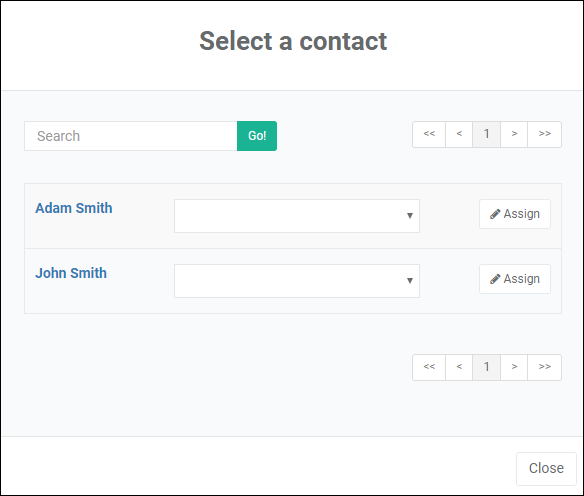
c.Set the Contact Type.
d.Click the Assign button to save your changes. The Contact added is displayed in the Contacts list.

6.To add a new Contact:
a.Click on the New option.
b.The New Contact page is displayed.
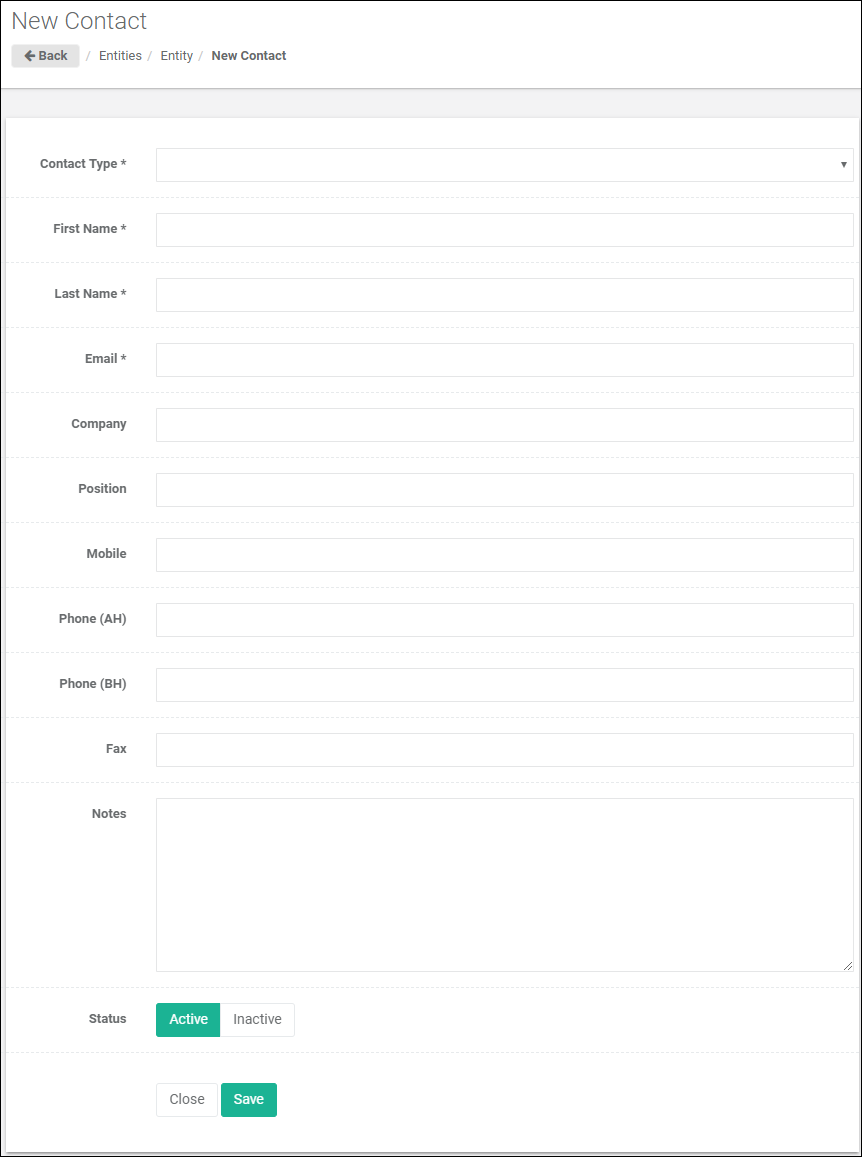
c.Select the appropriate Contact Type from the dropdown list.
d.Set the following fields as required:
i.First Name (Mandatory). Enter the contact’s first name, e.g. “John”.
ii.Last Name (Mandatory). Enter the contact’s surname, e.g. “Smith”.
iii.Email (Mandatory). Enter the contact’s email address.
iv.Company. Enter the contact’s employer or company.
v.Position. Enter the contact’s position, e.g. “CCO”.
vi.Mobile. Enter the contact’s mobile number.
vii.Phone (AH). Enter the contact’s after hours contact number.
viii.Phone (BH). Enter the contact’s business hours contact number.
ix.Fax. Enter the contact’s fax number.
x.Notes. Enter any relevant notes.
xi.Active. Click this to make Contact “Active” or "Inactive".
e.Click the Save button to save your changes. The new Contact is displayed in the Contacts list. In addition, note that the new Contact record will be inserted into the database even if you subsequently do not save the new Entity record you are creating. To delete or modify this Contact, see Delete a Contact in Configuration->Contacts.
7.Click on the ![]() button to save the Entity.
button to save the Entity.