Procedure
1. Click on the ![]() button from the Audits list page.
button from the Audits list page.
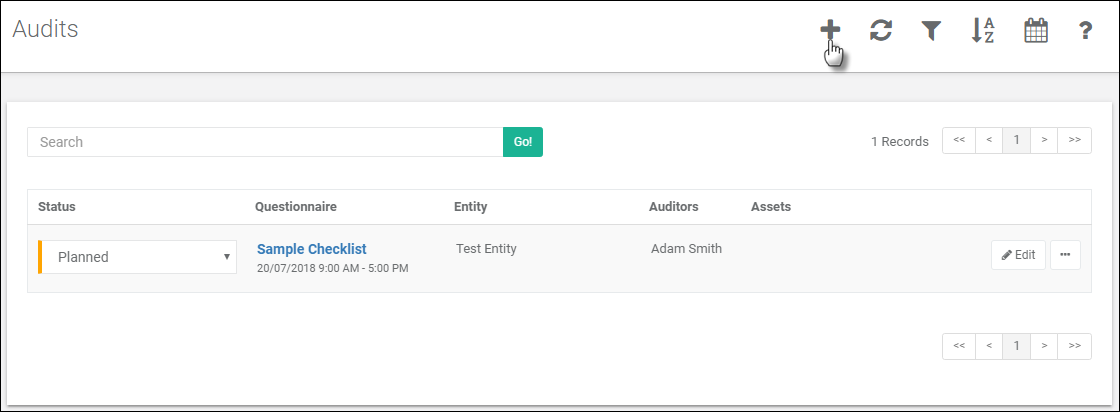
2. The New Audit page is displayed.

3. Set the following mandatory fields:
Note: Some fields may be disabled depending on the status of the Audit.
a.Entity. Choose the Entity to be audited (Auditee).
b.Questionnaire. Choose the Questionnaire to be used in this Audit. Please visit the Questionnaire Manual->Create a new Questionnaire topic for details to create a Questionnaire.
c.Planned Start Date. Choose the start date and time for the Audit from the calendar control. (Defaults to the selected day on the calendar.)
d.Planned End Date. Choose the due date and time for the Audit from the calendar control.
e.Audit Status. Choose the relevant status of the Audit from the dropdown. Please visit the Administrator Manual->Audit Status topic for more details about Audit Status.
4. Now set the remaining optional fields as required:
a.Alias. Enter appropriate name to identify the audit. e.g project number,
b.Audit Purpose. Select the purpose of the audit. E.g. Initial Audit, Certification Audit etc. Please visit the Administrator Manual->Audit Purpose topic for more details about Audit Purpose.
c.Comments. Enter notes about the Audit. These notes are not used anywhere else in the system, they reside here for notations and are a repository for any information needing to be retained.
d.Audit Advisory. Select the Announced or Unannounced option as applicable. If an Audit is unannounced, email notifications will not be sent to the Auditor or the Entity being audited.
e.Entity Confirmed. Specify if the Entity has been confirmed. This is purely for notation and does not have ramifications in the system.
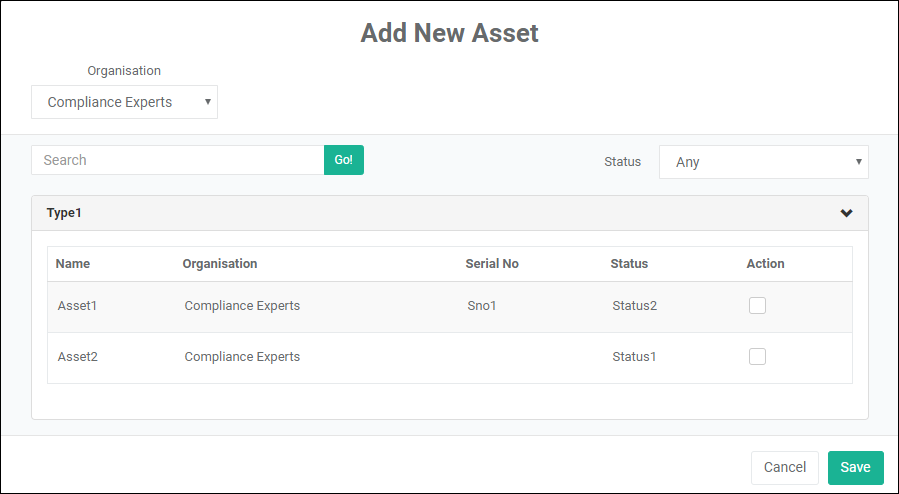
5. Assign the Asset by clicking on the Assign New Asset button. This will show the list of Assets.
Note: The list can be filtered by different options such as Organisation, Asset Type & Status.
Filter options may be disabled depending on User Group permissions.
6. Assign the Auditor by clicking on the Assign New Auditor button. This will show the list of Auditors.
Note: The list is filtered to Auditors with the required skills and who are available and within the Region. If you wish to, the filter can be changed using the dropdown lists in the Show Auditors based on the following criteria section. Alternatively you may click “Show All Auditors” to include every auditor in the list.
Filter options may be disabled depending on User Group permissions.
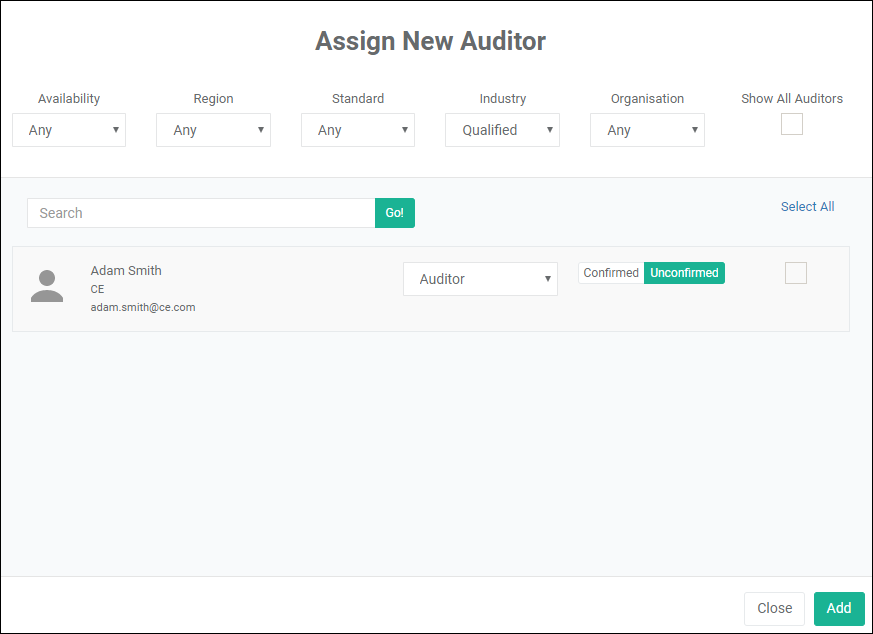
a.Auditor Role. Select the role to be assigned to the Auditor from the dropdown list provided.
b.Assigned. Click on the Confirmed button next to the required Auditor, if the Auditor has confirmed availability for the Audit.
7. Select Auditors and then click on the Add button to assign the selected Auditors to the Audit.
8. If more than 5 Auditors have been selected in the above step, an option to schedule it individually would be shown.
![]()
9. Click on the ![]() button to save the changes and create the Audit.
button to save the changes and create the Audit.
Notes
The Audit Questionnaire is not generated until the Audit status has been moved from the "Planned" phase.
In the Audit License Model, the Organisation to which the User belongs must have an available licence in order for the Audit Questionnaire to be generated. Generation of the Audit Questionnaire consumes an Audit Licence.
Audits may be assigned an Announced or Unannounced advisory status. This indicates whether or not the Entity is notified in advance of the Audit (requires configuration of an audit notification in settings).