Procedure
1. Click on the Edit button from the Appointments list page.

2. The Edit Appointment page is displayed.
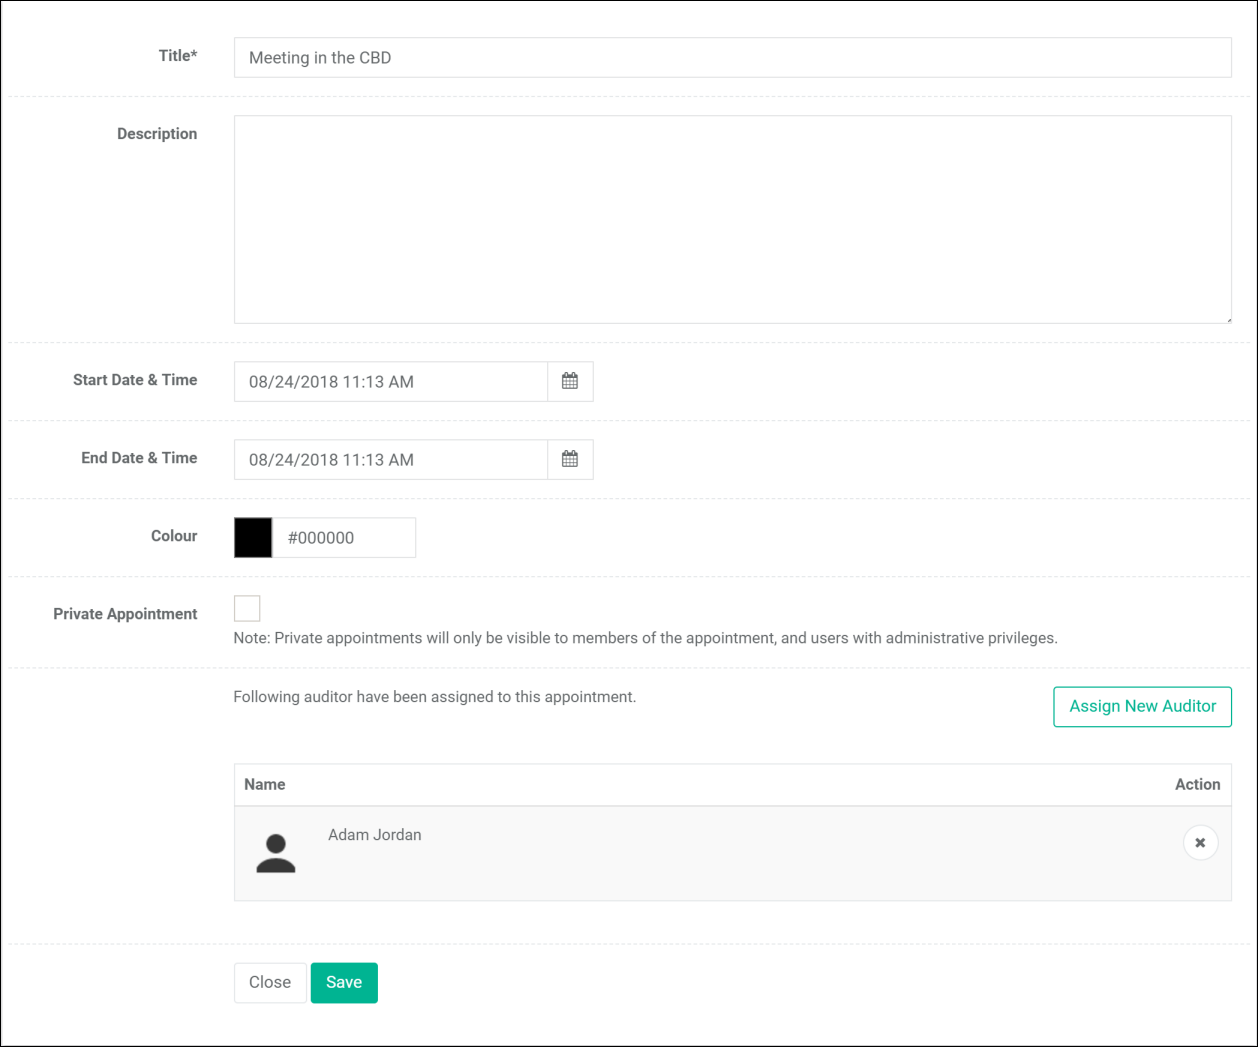
3. Set the following mandatory fields:
a.Title. Enter a short description of the appointment, e.g. Auditor Meeting.
b.Start Date & Time. Enter the date the appointment begins on.
c.End Date & Time. Enter the date the appointment ends on.
4. Now set the remaining optional fields as required:
a.Description. Enter any additional details of the appointment here.
b.Colour. Choose the colour for the appointment. (The application may have been configured by the system administrator to always display appointments in a default colour. If this is the case, the color choice here will be overridden.)
c.Private. Check to hide this appointment from other Users who are not assigned to the appointment. System administrators may be able to see private appointments.
5. Assign the Auditor by clicking on the Assign New Auditor button. This will show the list of Auditors.
Note: To also display Auditors who are not available, choose Any in the Availability dropdown list.
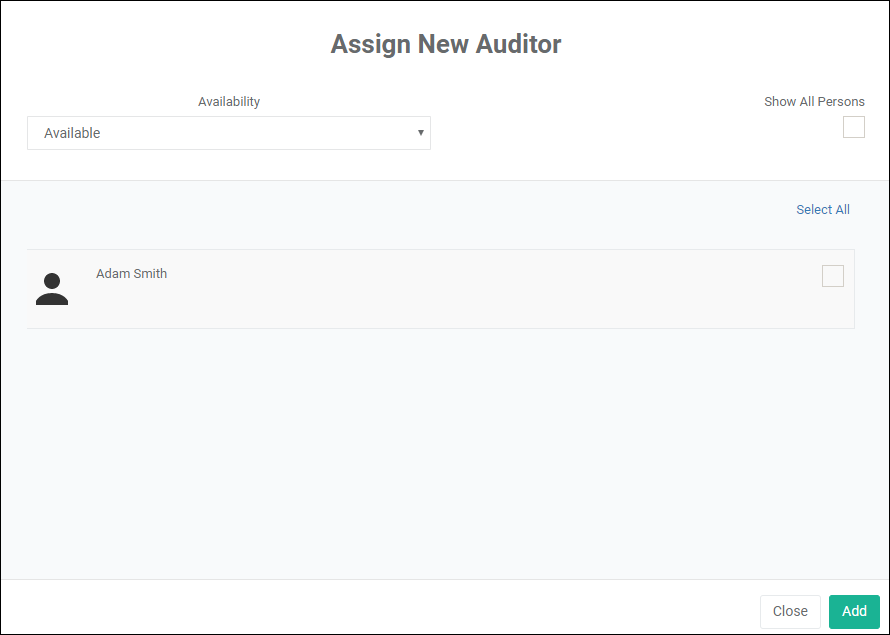
6. Select the Auditors and then click on the Add button to assign the selected Auditors to the Appointment.
7. Click on the ![]() button to save the changes to the Appointment.
button to save the changes to the Appointment.
Notes
When a non-private appointment is created, a User who is not assigned to the appointment may view it if they do the following on the Home page:
1.In the General filter, tick the “Show appointments” checkbox and then click the Filter button.
2.In the Auditor filter, tick the “Select All” checkbox or select any of the Auditors assigned to the appointment and then click the Filter button.